Over the past few weeks, I have been fortunate to attend Cyber Skills Level Up 1 & 2, hosted by @RE:HACK at UIA and also UM. Throughout the event, I learned a lot of new stuff, but what caught my attention the most was Introduction to Android by @Kelvin Teo. Since I have a memory like a goldfish, I think it would be great to start making write-ups/notes for this kind of workshop.
Init
First of there are a couple of initial setups that you need to do in order to run AVD (Android Virtual Device) in your machine and getting full control of your device, which consist of:-
- Downloading a new AVD
- Rooting AVD
- Setting up a proxy on AVD
Downloading AVD
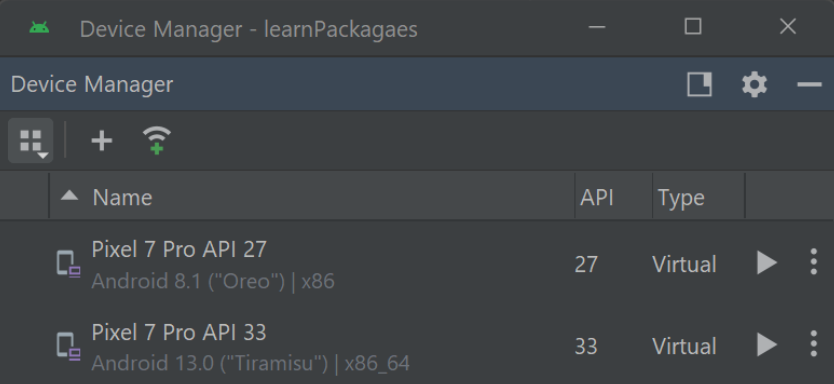
If you have downloaded Android Studio before on your machine, it should come with a tool called Android Emulator. It helps you create your own AVD. Feel free to select the type of phone and system image that you want to use. Personally, I choose Pixel 7 Pro with API 27 as my AVD.
Now that you created one emulator, you can turn it on using Android Studio or just use the command prompt instead. To turn it on using command prompt, follow the steps:-
- Go to this path C:/Users/{your username}/AppData/Local/Android/Sdk/emulator
1 | cd C:/Users/{your username}/AppData/Local/Android/Sdk/emulator |
- List all AVD installed on your machine
1 | emulator.exe -list-avds |
- Run your AVD
1 | emulator.exe -avd "Name of your AVD" |
Rooting AVD
This brings back a lot of memories. When I was a kid, I used to do this all the time in my old tablet to cheat/hack in mobile games. I remember there was a mobile application that was quite similar to cheat engine, forgot what it was called though, but you needed to root your device in order to use the application.
Back then, I didn’t really know what rooting did to your device though. Apparently, it is used to:-
- Setup proxy
- Install and execute of custom scripts
- Test applications
Comparing it to non-rooted devices:-
- Limited capability to test applications
- Only trust third-party certificate at a user-level
How to root?
Just use rootAVD, a script that is capable of rooting your AVD using Magisk automatically within seconds.
- Clone it on your machine
1 | git clone https://github.com/newbit1/rootAVD.git |
- Get into the rootAVD directory and run rootAVD executables/shell
1 | cd rootAVD |
- List all AVDs that can be rooted
1 | rootAVD.bat listAllAVDs |
- Make sure your AVD is running and run the root script by using the ramdisk.img file of your AVD
1 | rootAVD.bat {your system-images path}/ramdisk.img |
Reboot your AVD
Run Magisk & reboot again
Your device is rooted!
Setting up proxy
Here is the most difficult part for me. I hate setting up proxies.
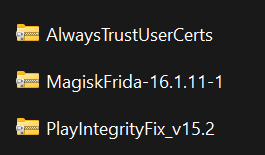
There are 3 packages that you need to install/import in your AVD
- MagiskFrida
- PlayIntegrityFix
- AlwaysTrustUserCert
After you have installed, every one of the packages, reboot your AVD.
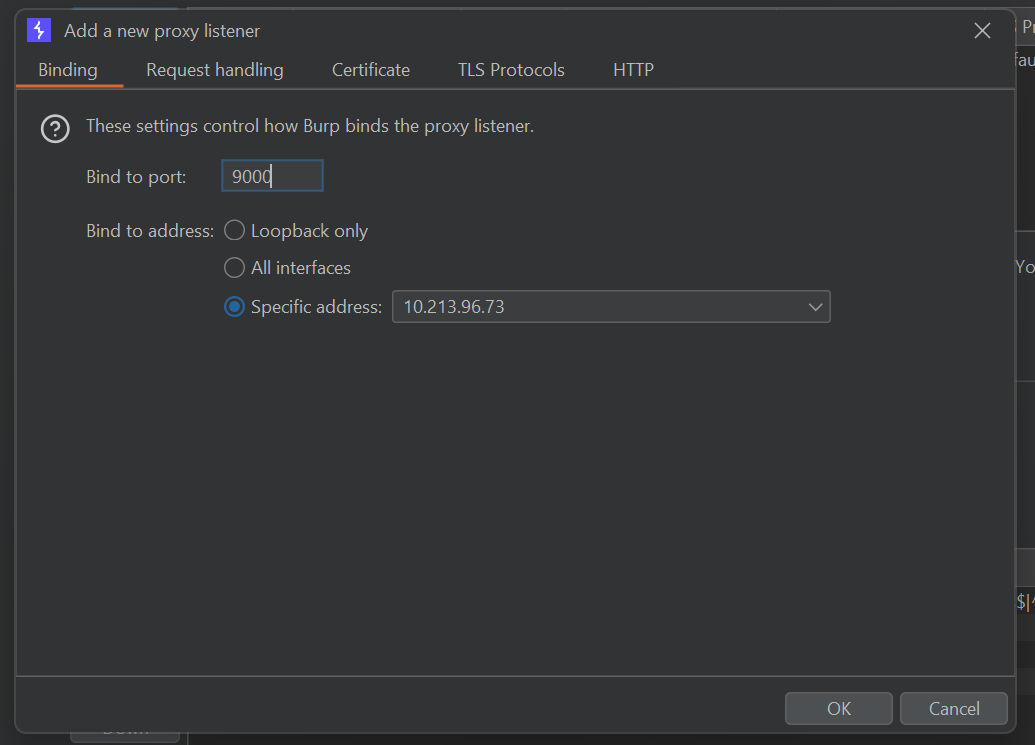
Now it’s time to boot up your BurpSuite and go to Tools > Proxy
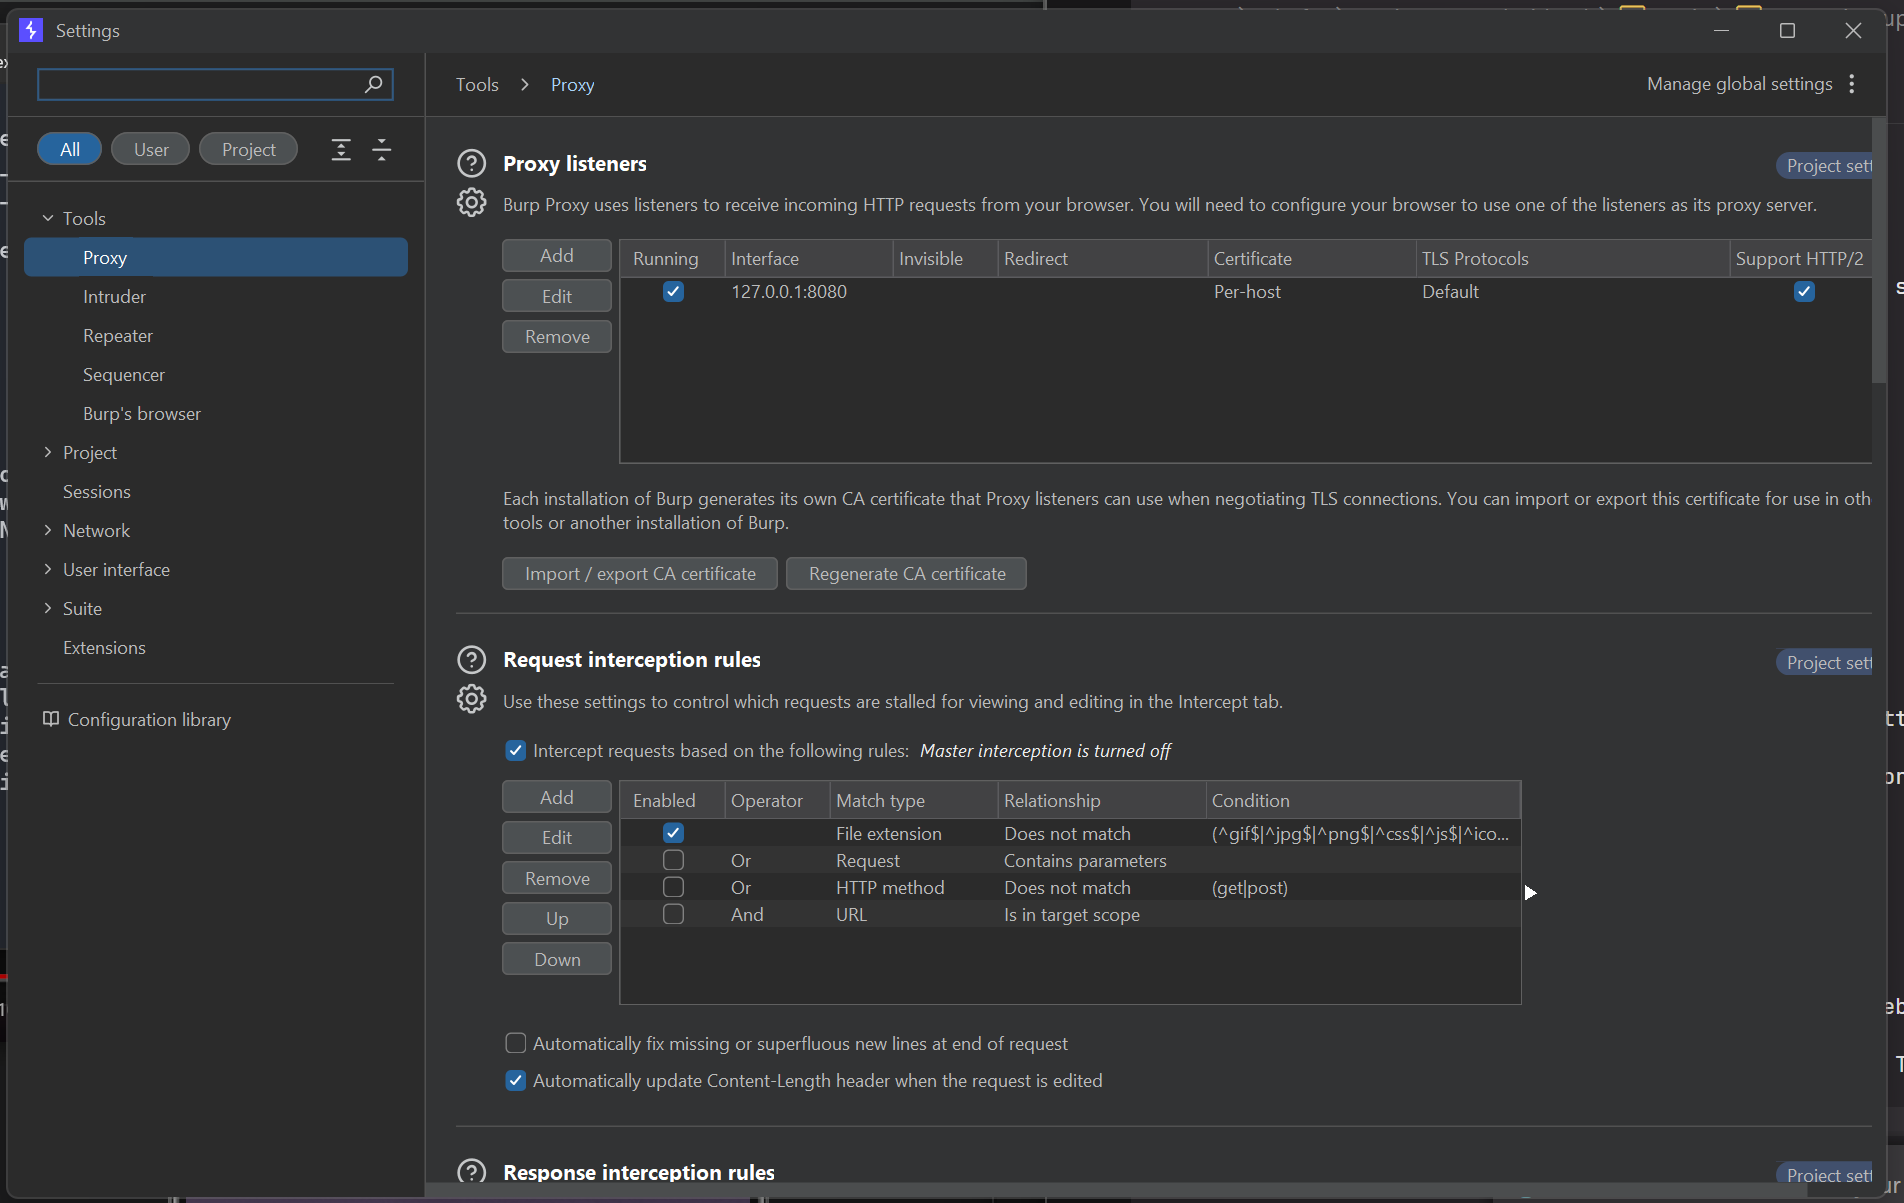
After that, add new proxy listeners to your host machine IP, you can find it using ipconfig command in terminal for windows. Also, use any available port; in this case I’m using port 9000
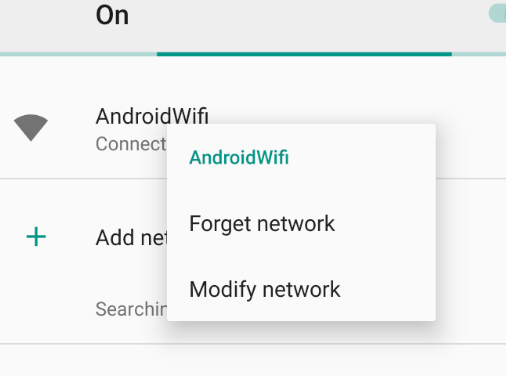
Now you need to manually set up the proxy on AVD, go to wifi settings and choose AndroidWifi > Modify Network
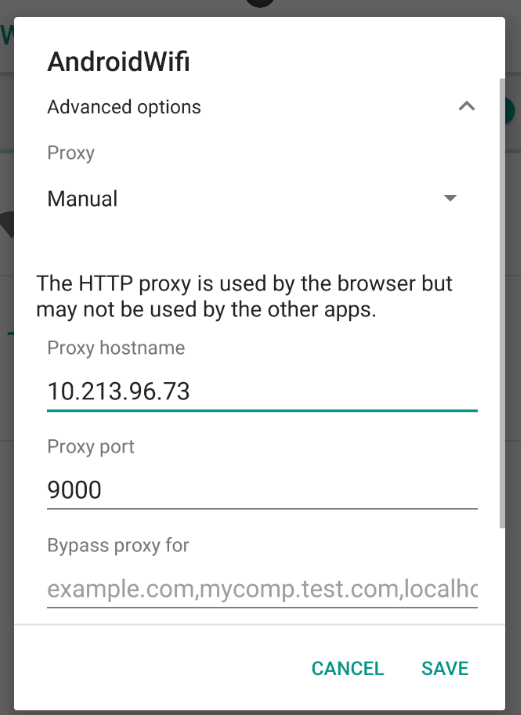
Then add your proxy listeners IP and port
Go to chrome and visit https://burp to download the CA cert, then rename your cert to .cer instead of .der
Now go to Settings > Security > Encryption & Credentials > Install a certificate to download CA cert, then reboot your device
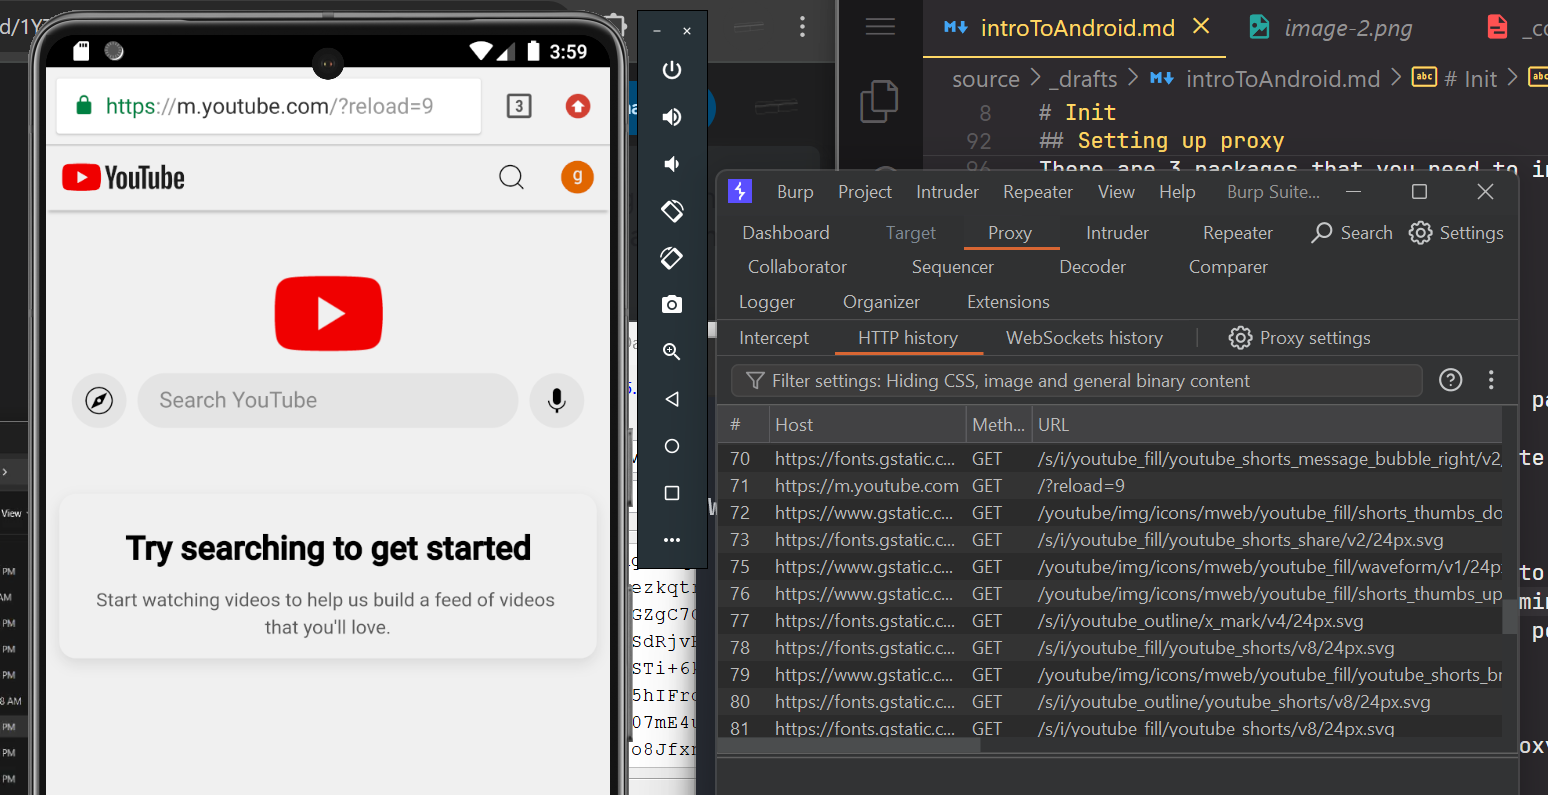
Go back to Chrome and try to browse YouTube and verify the communication can be intercepted by the proxy
Now that everything is perfectly set up, we can use this to learn SSL Bypass
SSL Bypass
Usually, security researchers come across a problem when they are trying to test Android Applications because they can’t bypass SSL Pinning using conventional tools/techniques
What is SSL Pinning?
SSL pinning is a security technique used to prevent man-in-the-middle (MiTM) attacks (such as proxies) by ensuring that an application only trusts a specific certificate or public key, rather than any certificate issued by trusted Certificate Authorities (CAs).
This adds an extra layer of security by binding (“pinning”) the application to a known and trusted certificate or public key.
How to bypass it?
When the client has a 3rd party certificate to perform a MiTM attack, the communication channel will not happen. Therefore in order to bypass it here are the steps:-
- Install frida in your host machine
1 | pip3 install frida |
- Install frida-server in your AVD, and run it
1 | adb.exe push frida-server-16.0.10-android-x86 /data/local/tmp/frida-server |
Or you can just straight away go to the directory and run ./frida-server
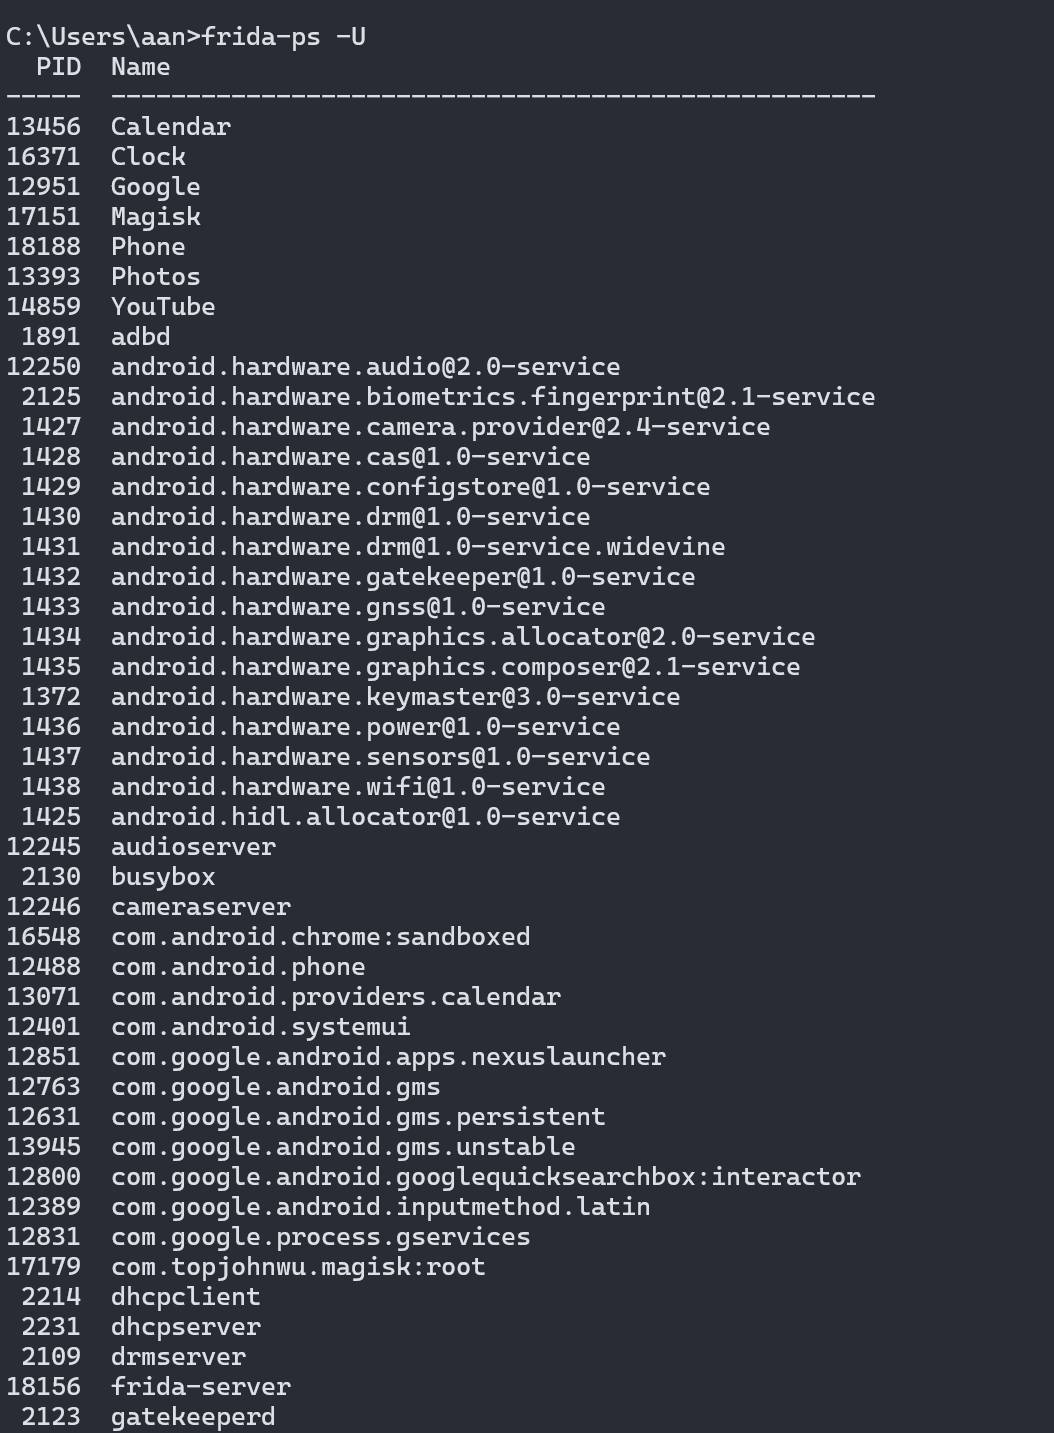
- To verify that Frida is working, first check the process that is currently running in AVD
1 | frida-ps -U |
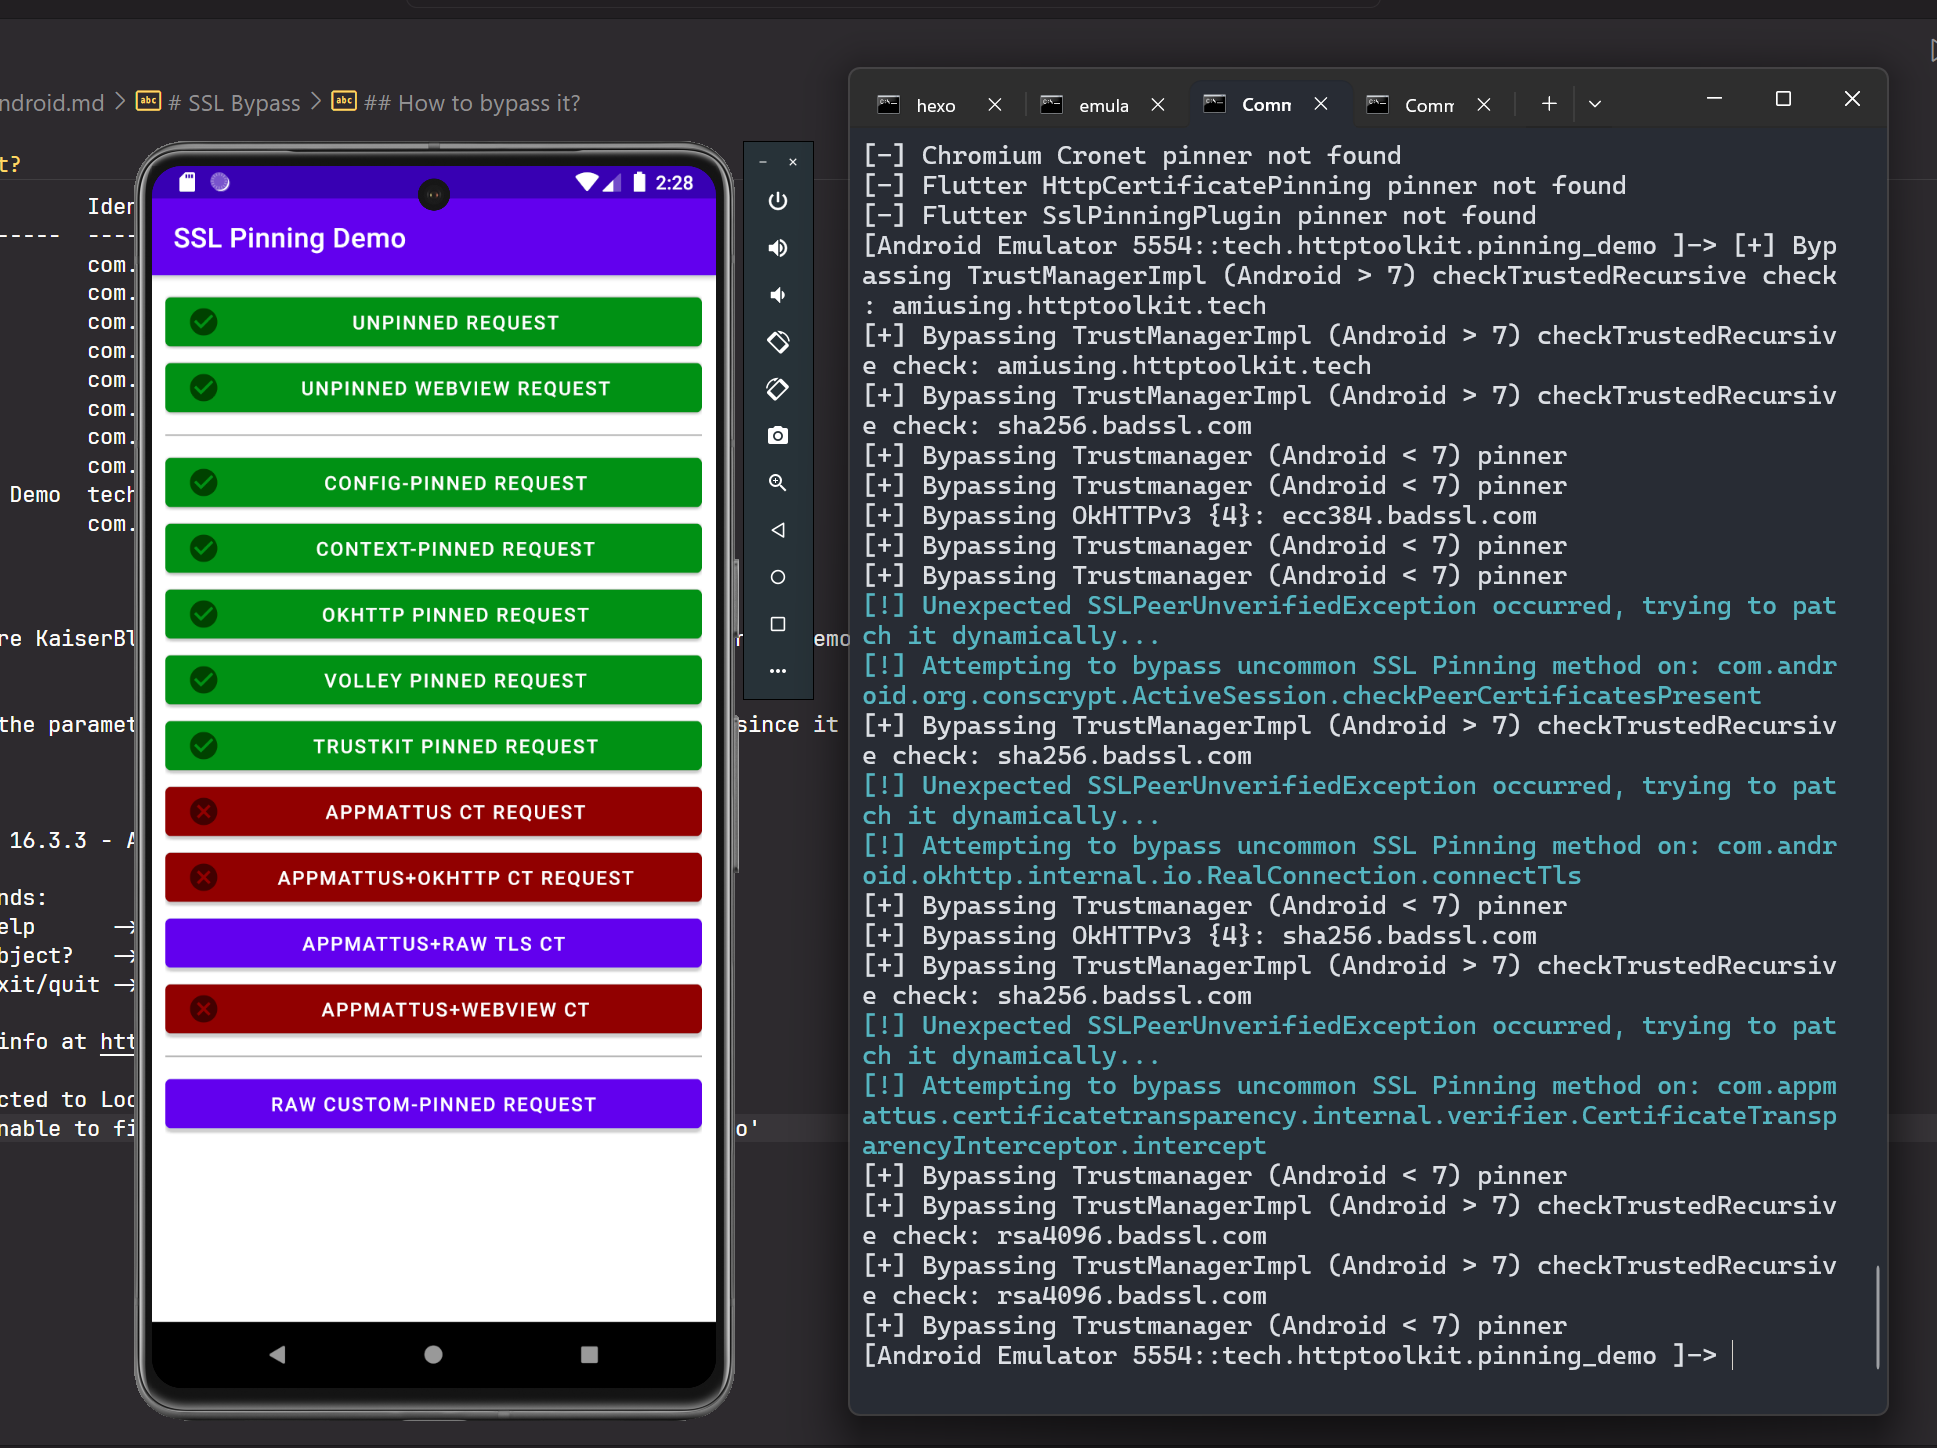
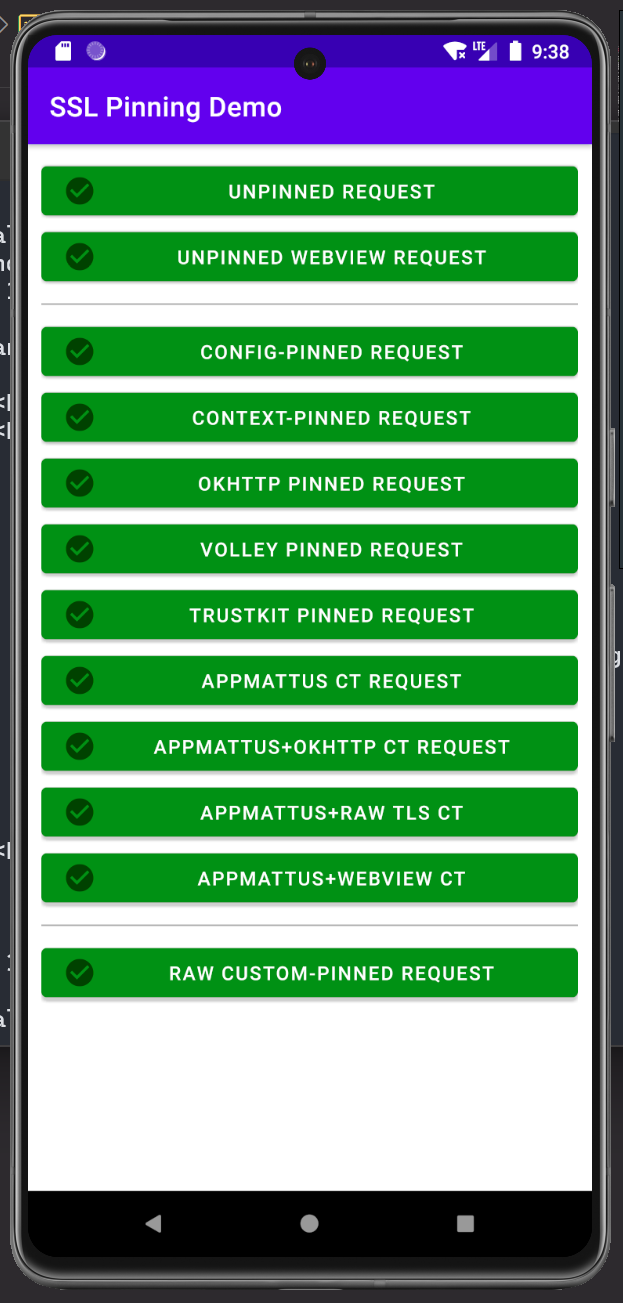
Finally you can test SSL Pinning bypass by using one of this demo application made by @pimterry
Initially without intercepting the communication using proxy, every pinned request is allowed since there is no suspected MiTM attack
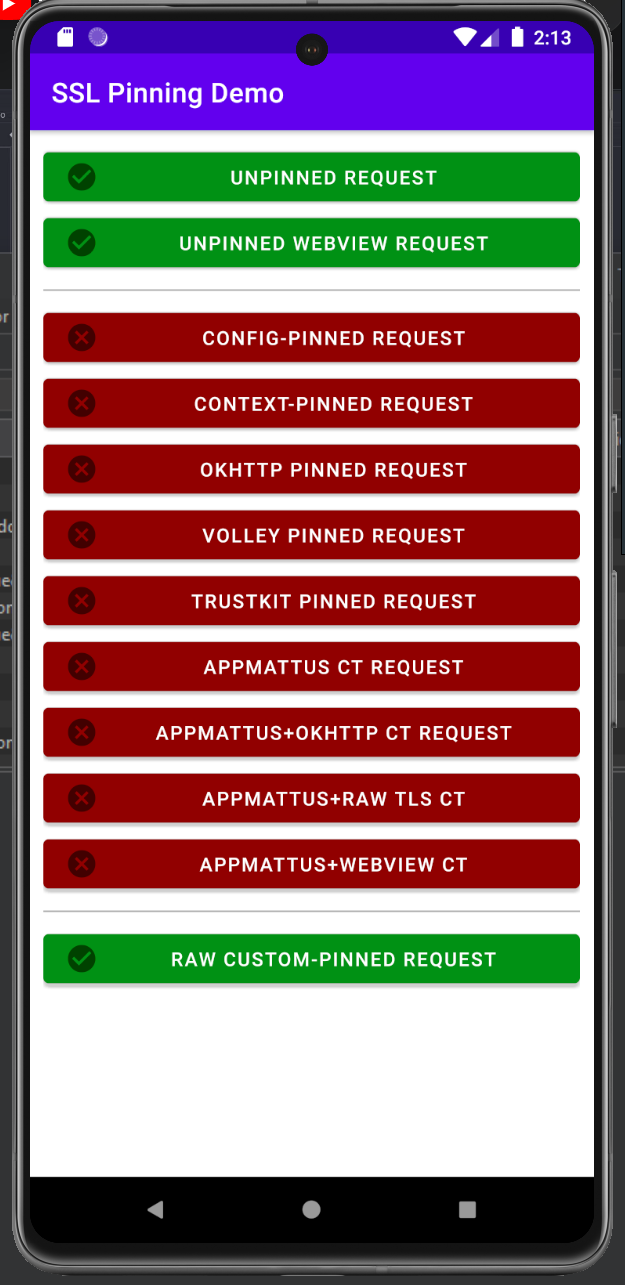
- After that, when proxy is turned on, most of the types pinned request got rejected
- In order to bypass all this pinned request use one of this script in frida, to run it, in your host machine use this command
1 | frida -U --codeshare KaiserBloo/ssl-and-root-bypass -f package_name |
the package name can be retrieved by running this command
1 | frida-ps -U -a |
1 | PID Name Identifier |
1 | frida -U --codeshare KaiserBloo/ssl-and-root-bypass -f tech.httptoolkit.pinning_demo |
Make sure you add the parameter -U if not this process will not be working since it will run it in your local system instead of your emulator
1 | ____ |
As you can see now, there are a couple of pinned request that can be by passed